Interface - Toolbar
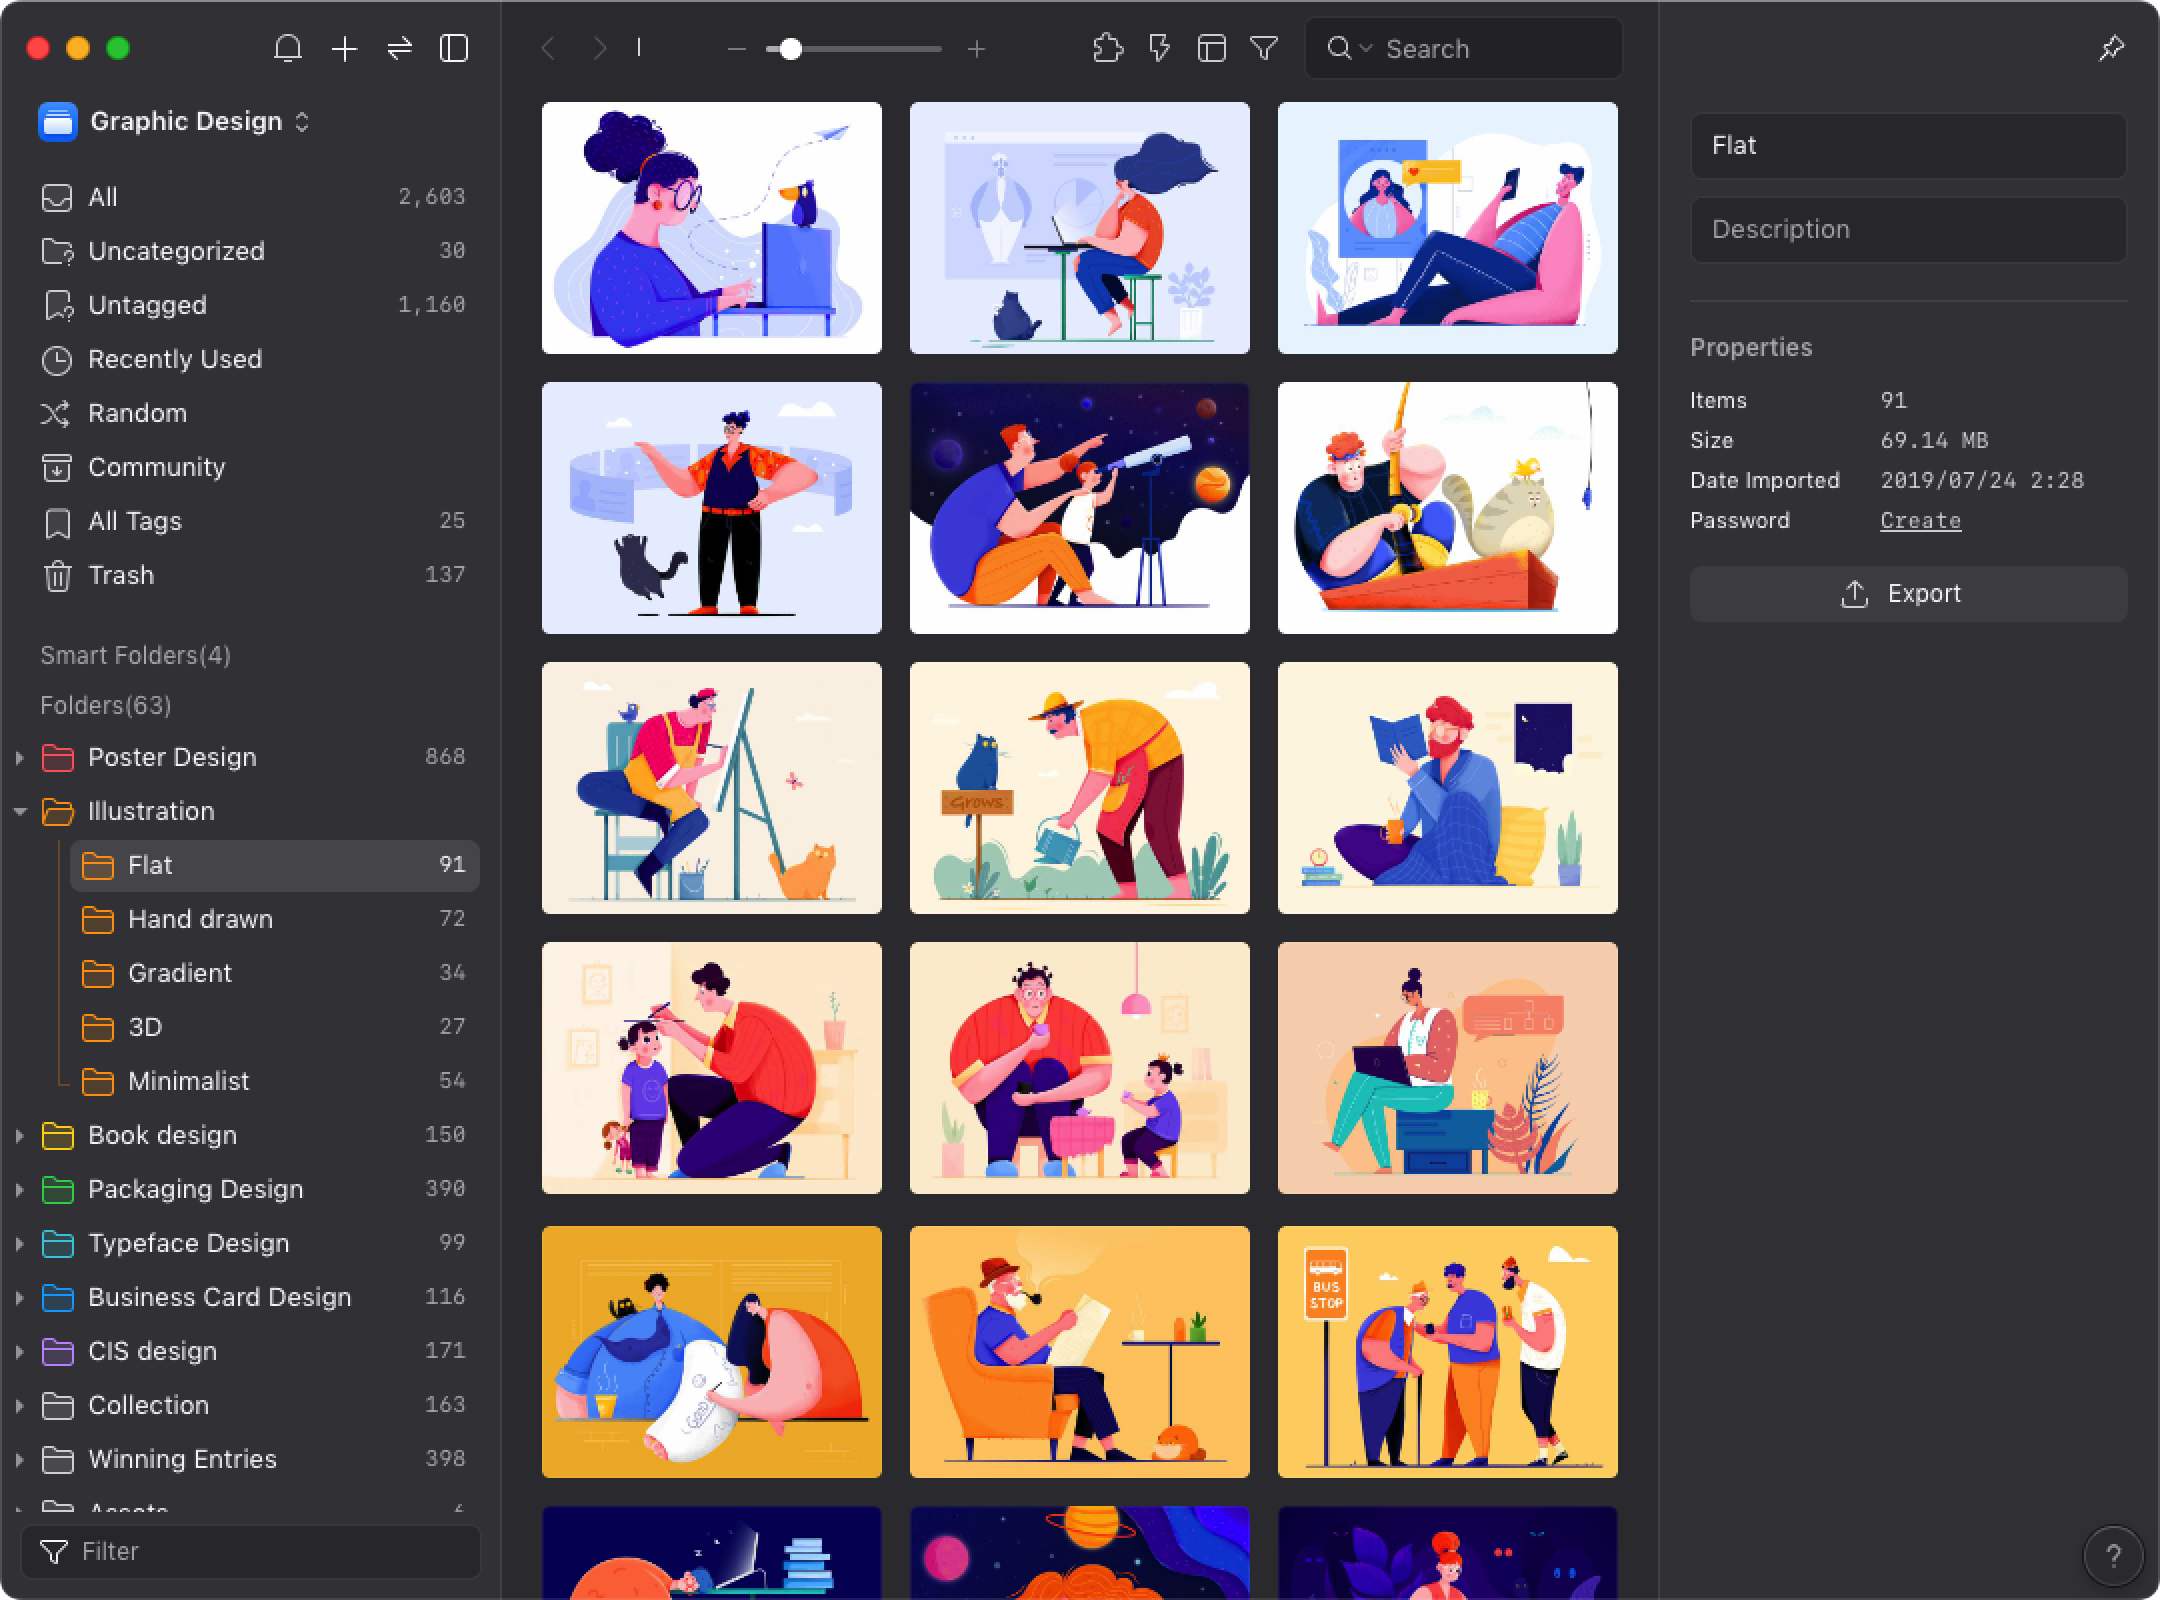
The Toolbar is composed of various controllers that decide the way how the List is displayed. The Slider in the middle can adjust the image display size. The search and filter tools on the right side allow you to find images as per the given conditions.
List ModeThe
images are displayed in a listed thumbnails, this is often used for quickly browsing or finding images. For more information, please see here.
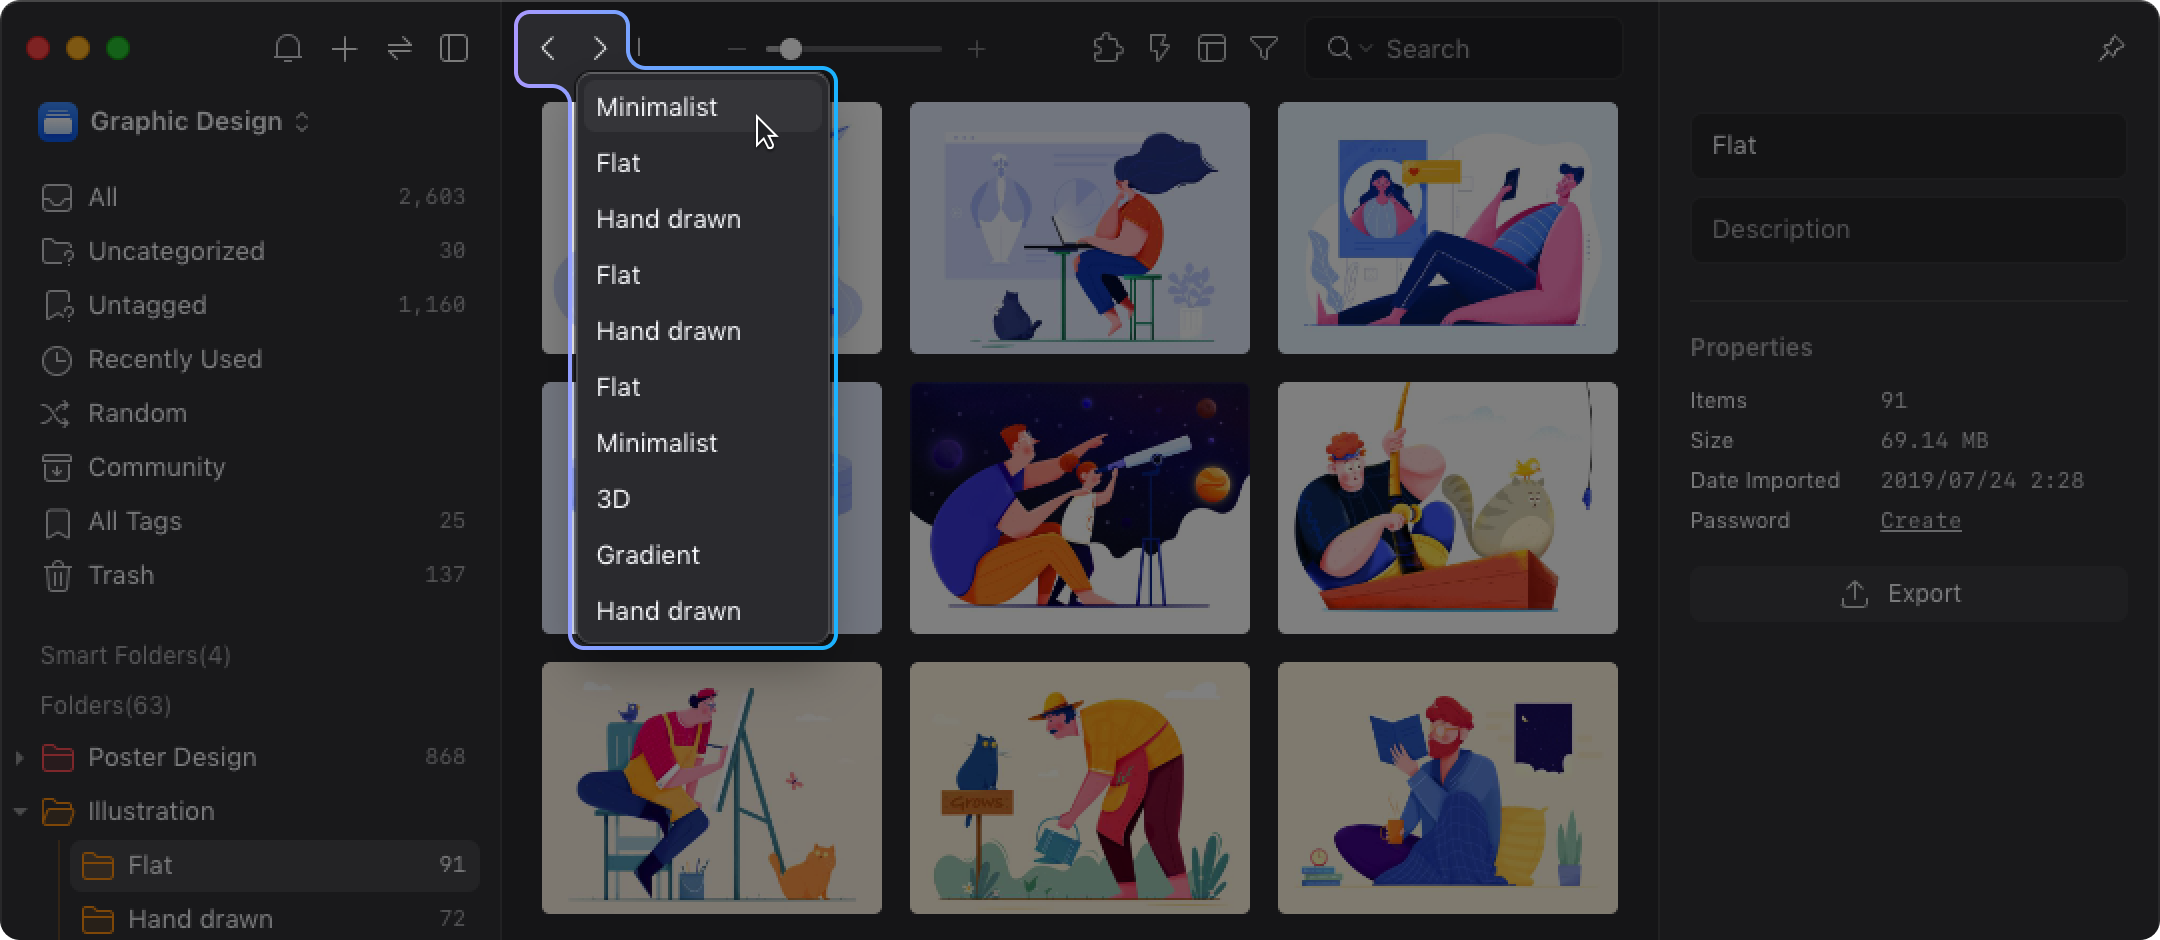
Forward / Back Button
- Left-click on the "Forward/Back Button" to return to the previous/next
folder.
- Right-click on the "Forward/Back Button" to show the folder history, select the folder and you can return to the folder.
Current Category Name
Right-click the "Category" and the parent folder option will appear. Click the parent folder name can return to the folder.
Slider
- Drag the slider to adjust the size of the thumbnails
- Use the hotkey ⌘ + = / ⌘ + - to zoom in/out on thumbnails

Button
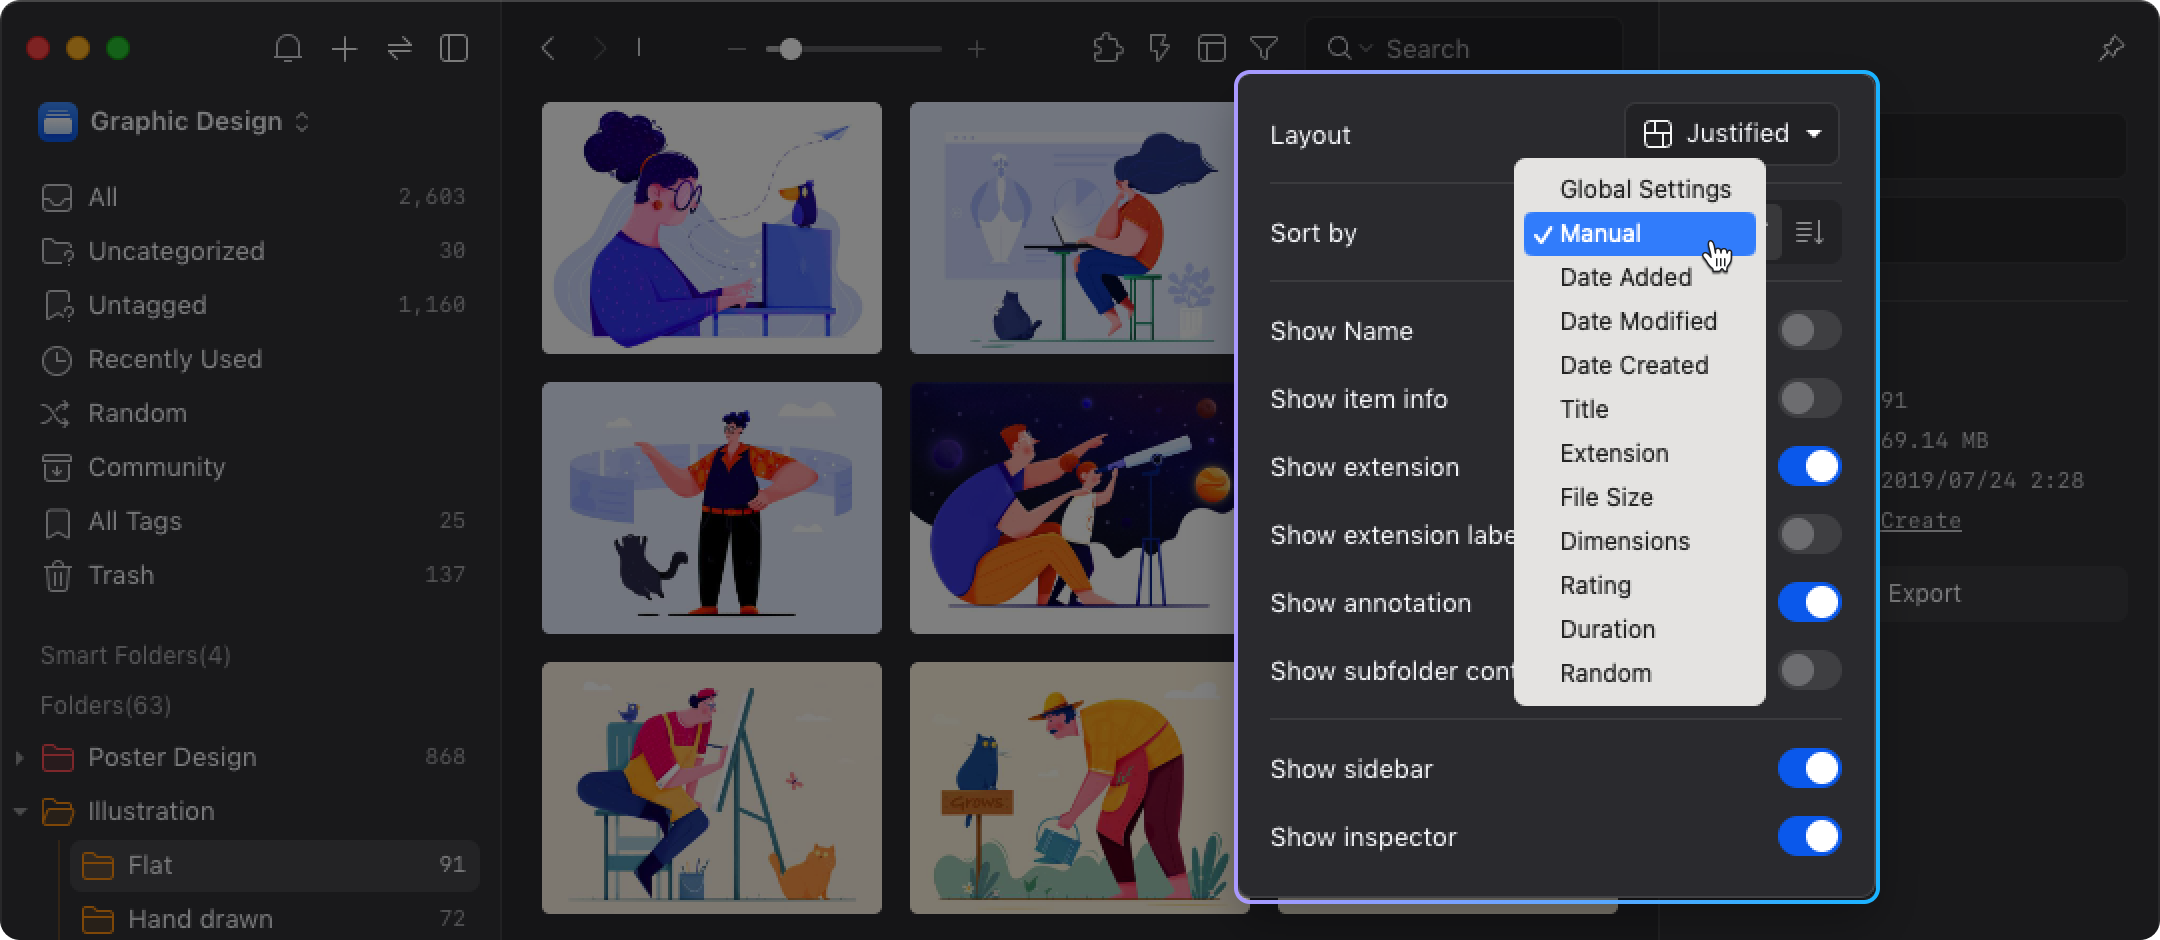
Click the sort button, you can select "Layout" and "Display information" to customize the image list.
- Sort Method
Sort images by selecting the item you want to order by.
- Display Information
Select the image information you want to display on the image list.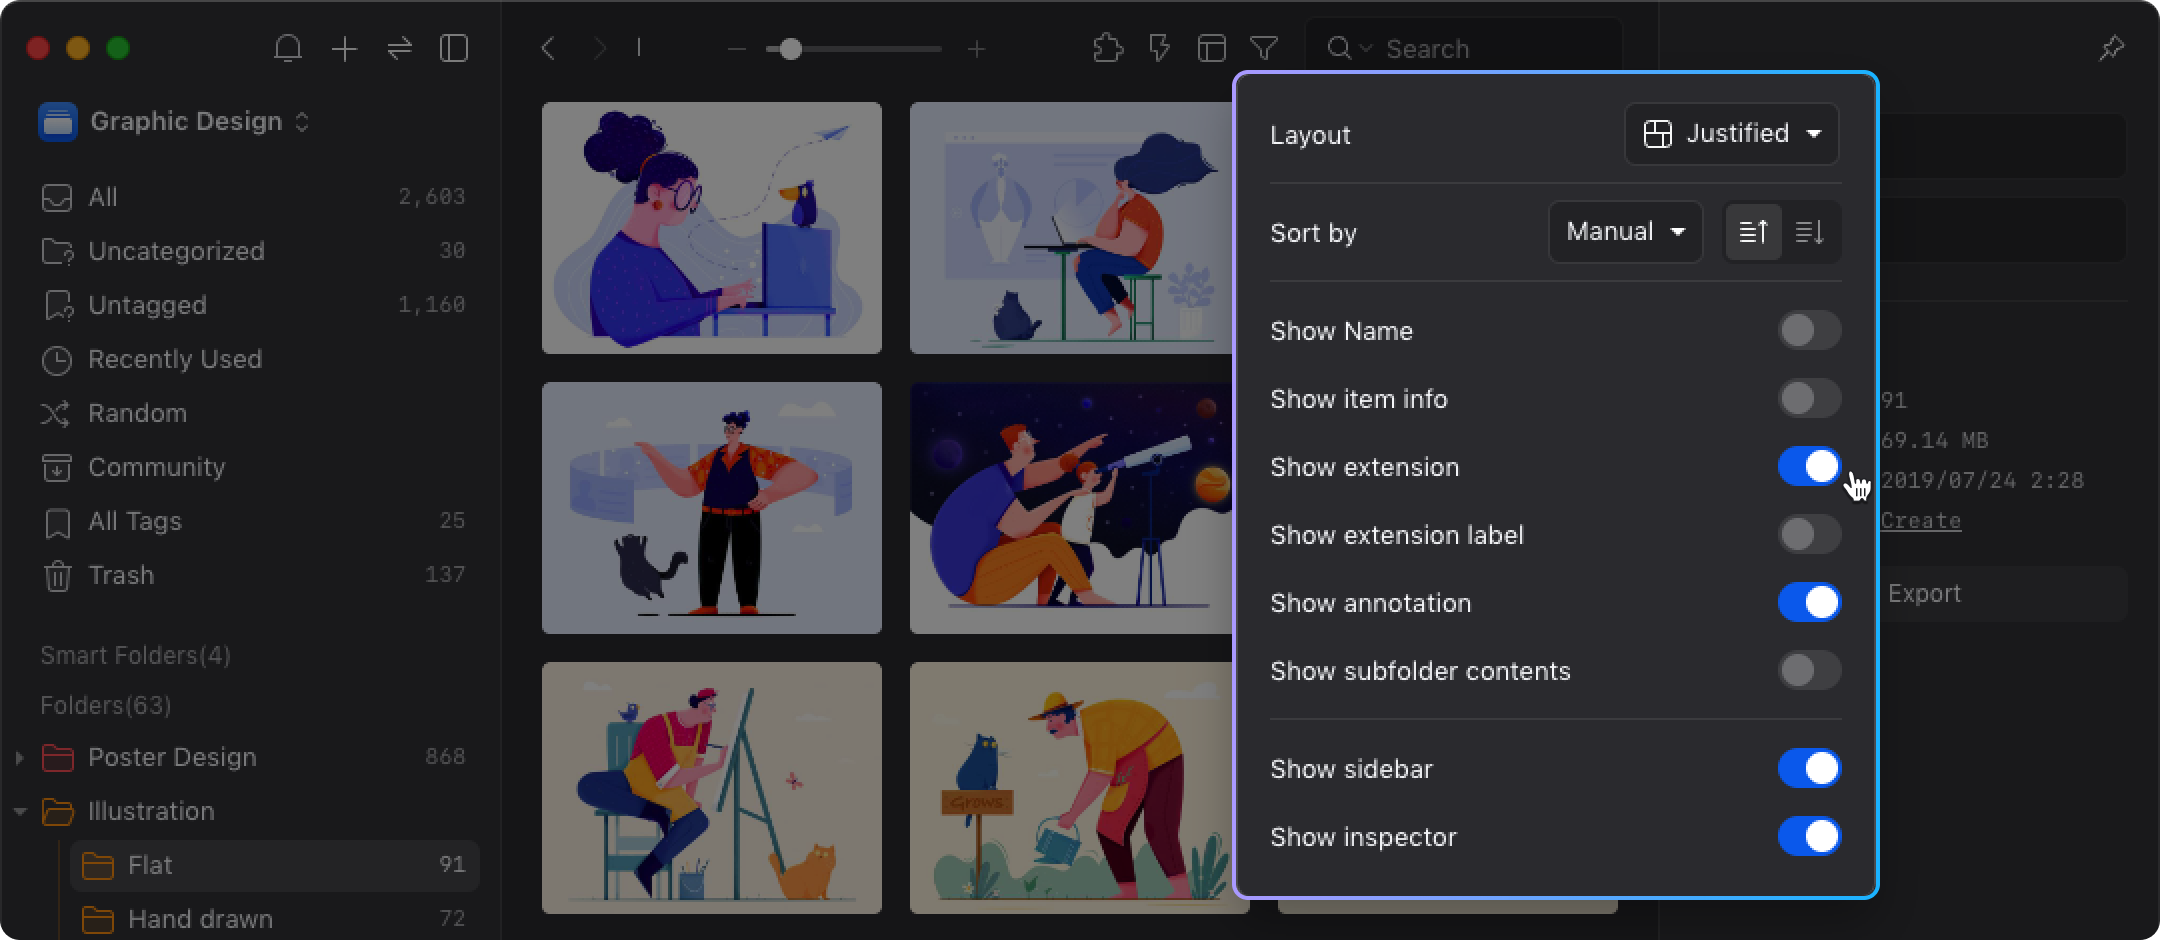
- Layout
Eagle provides "Waterfall Layout" and "Justified Layout", you can switch the layout according to your needs. Click for details.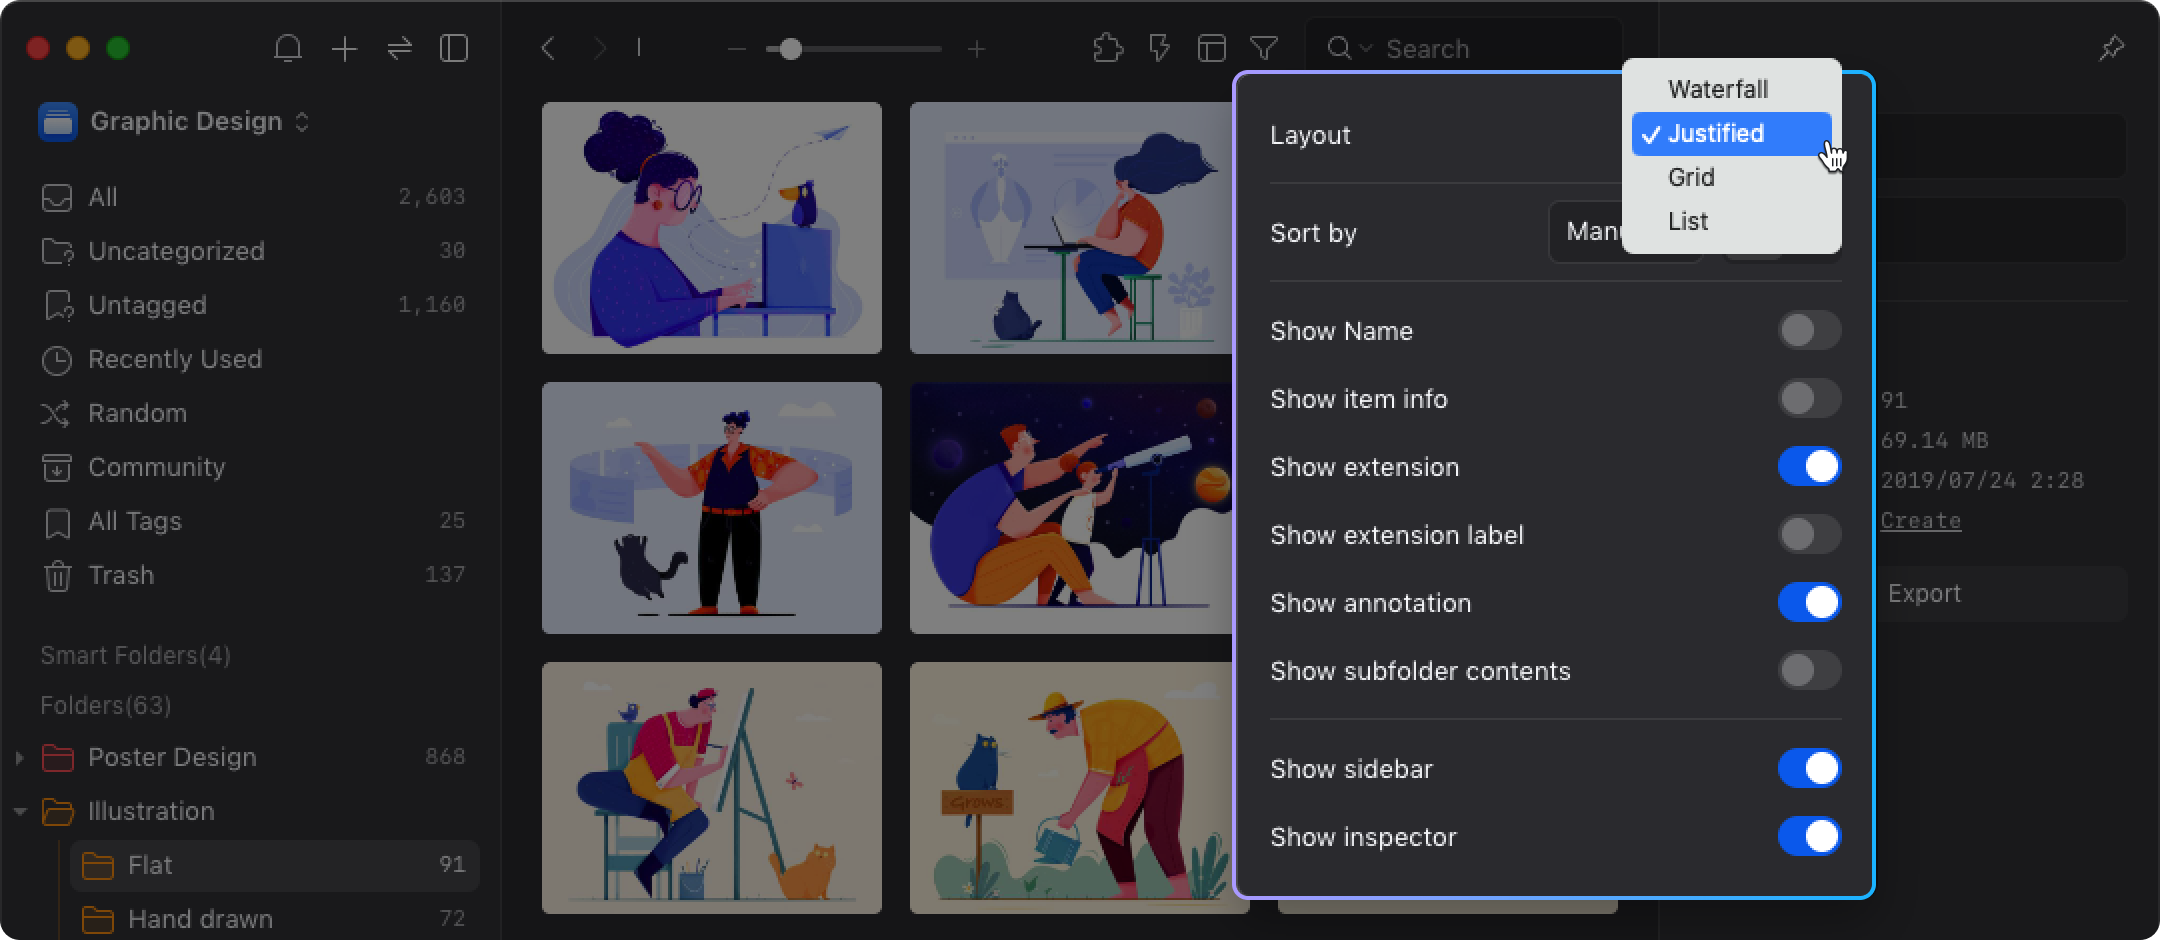
Advanced Filter
Click the "funnel" button on the right side of the toolbar to open the filter, and you can select conditions to filter images. Click to details.
- Click the "funnel" button

- Open the "Advanced Filter"

Keywords Search
The search bar is at the right of the toolbar, by inputting keywords, you will get the related images. Click for details.
- Separate keywords by space
When searching more than 1 keywords, separating them by space will gain results that match all the keywords. - Supports keyword exclusion
Use "-" mark to exclude unwanted results. - Keyword Recommendation
The search feature will automatically recommend keywords that are related to the word you input, or fill up the missing keywords.
- Customize Search Scope
Click on the magnifier next to the search box to customize the search scope you need.

Detail Mode
Double-click on an image to enter "Detail Mode", you can edit and comment on the image. For more information, please see the article here.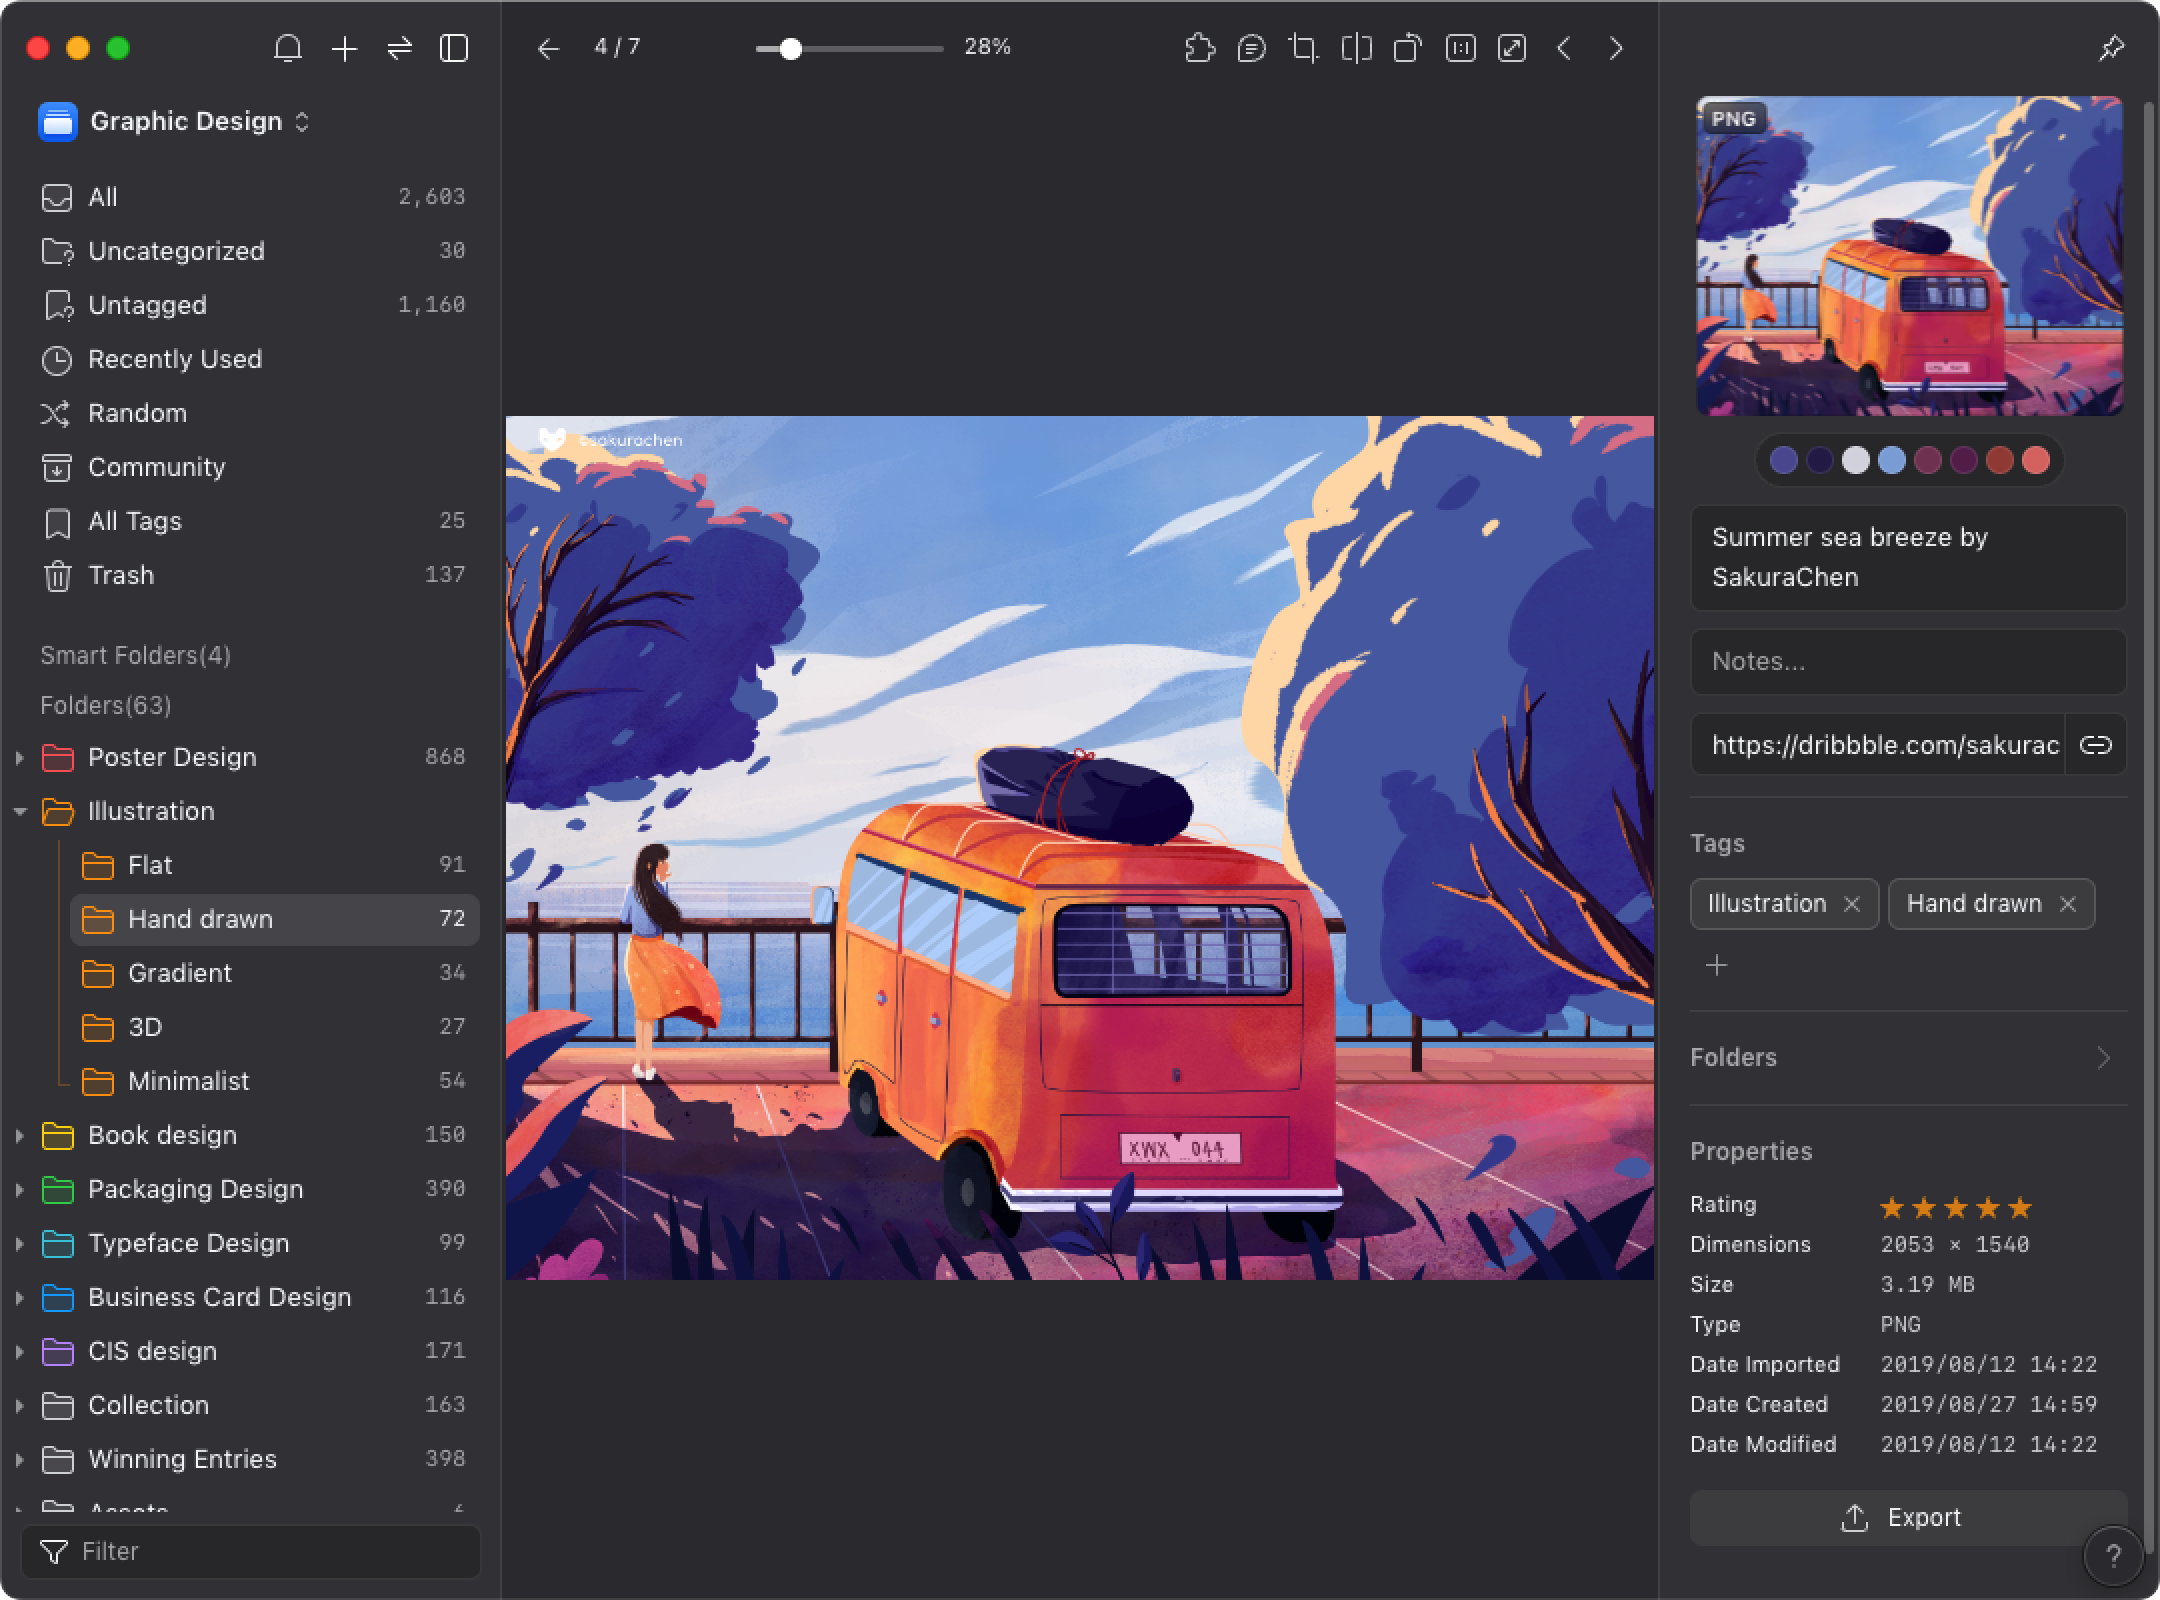
Back Button
Click the "Exit Button", you will return to the folder where the image belongs to.
Slider & Ratio
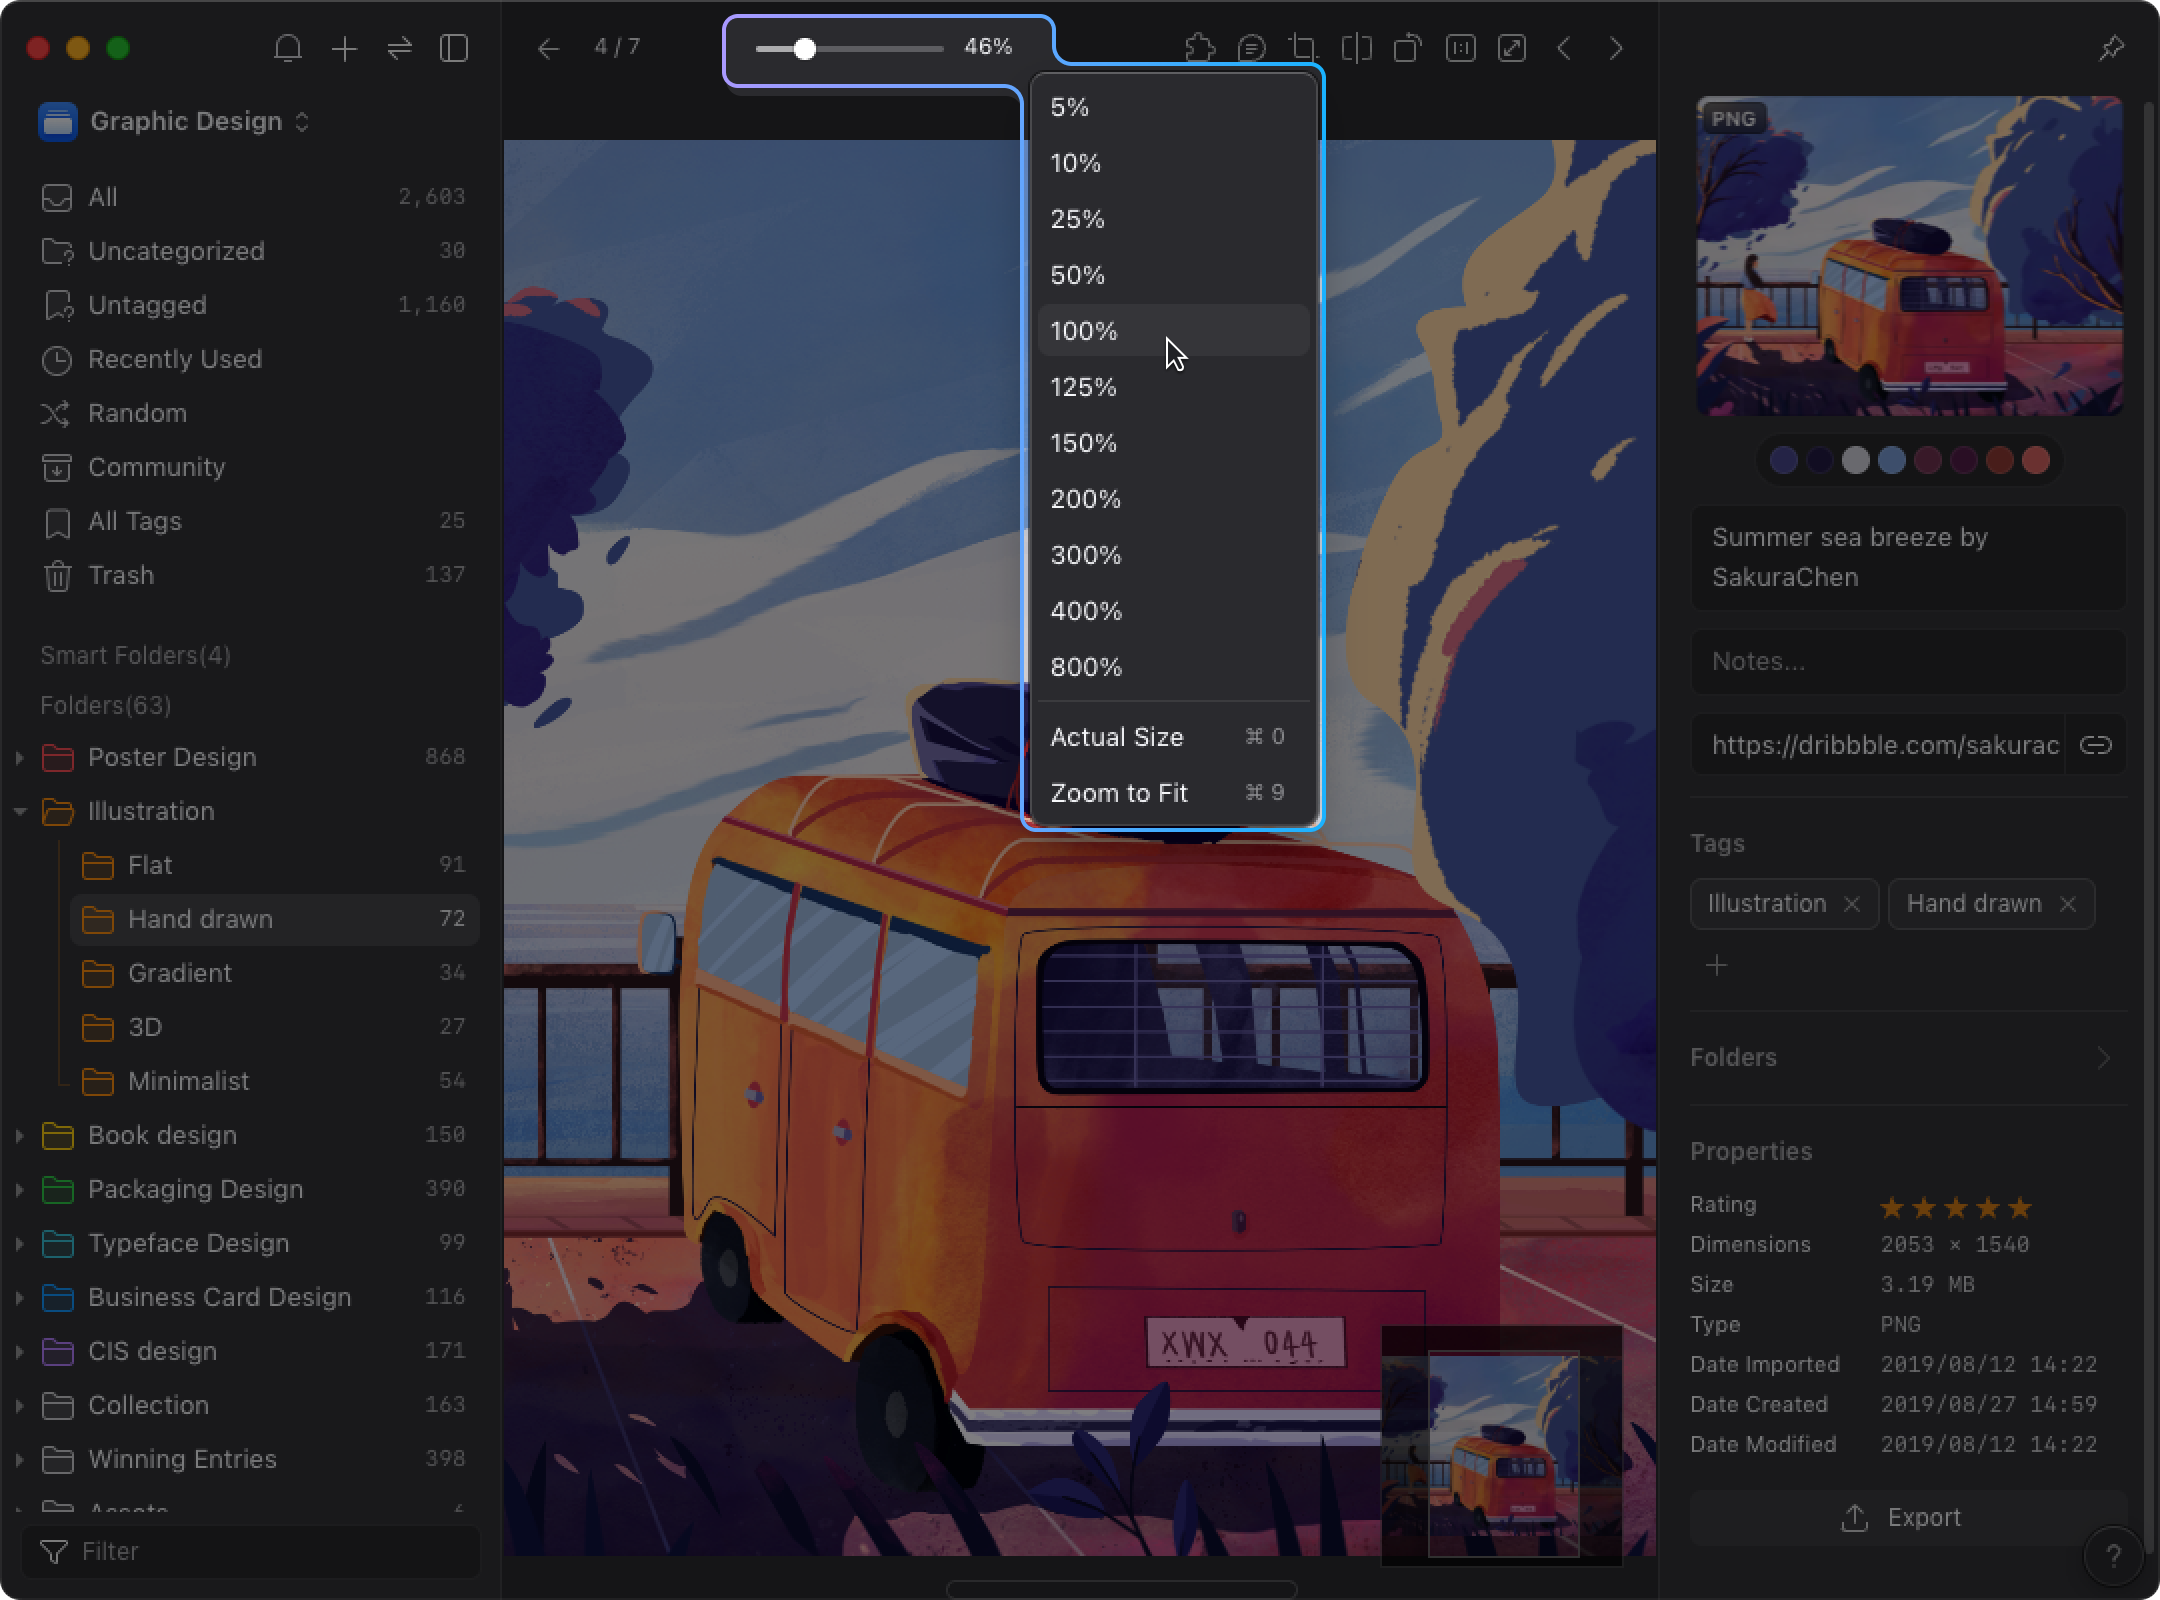
The slider and display ratio are in the middle of the toolbar, you can use them to adjust the size of the images display.
The slider is designed in non-linear range that allows for a better user experience. The detailed behavior are listed as follows:
- Right-click on the Ratio to switch between original size / zoom to fit ratio
- Drag the slider to adjust the image's display
- Use shortcut key ⌘ + = / ⌘ + - to Zoom in/out images
Left-click on the ratio to adjust Image display size. - Left-click on the ratio to adjust Image display size.
Crop Images
In the "Detail Mode", you can crop images into the size as you like. The insturctions are as below:
- Click the "Crop" button on the right side of the toolbar

- Select a zone within the image that you want to keep.
- Click the "Crop" button to save the image.
Rotate Images
In the "Detail Mode", you can use the image rotation function to rotate the image. The insturctions are as below:
- Click the "Rotate" button on the right side of the toolbar

- Rotate the image by the angle you specify
Actual Size
Click the "Actual Size" button, the image will be displayed in 100% ratio.
Zoom to fit
When you you are previewing Mockups for the Phone or Webpage, it would not be convenient to display image in its actual size or the size that fits in the window. The Zoom to Fit feature will automatically adjust to the fittest ratio for a better preview experience, see below: 
Previous/Next
Click the "Previous/Next" button to open the previous/next image. 