The Auto-Import
Due to the difference between Eagle's library structure and the system's file structure, in situations where the drag-and-drop feature cannot be used, you may need an additional step to add files to the Eagle library. Enabling the 'Auto Import' feature can easily solve this issue, especially in the following scenarios:
- When files cannot be directly dragged into Eagle:
For example, when downloading images or files from a browser, you can specify saving them to the monitored folder to directly add files to the Eagle library. - Using third-party screenshot or recording tools:
With these tools, files can be quickly stored in the Eagle library. - Directly outputting results from drawing software to Eagle:
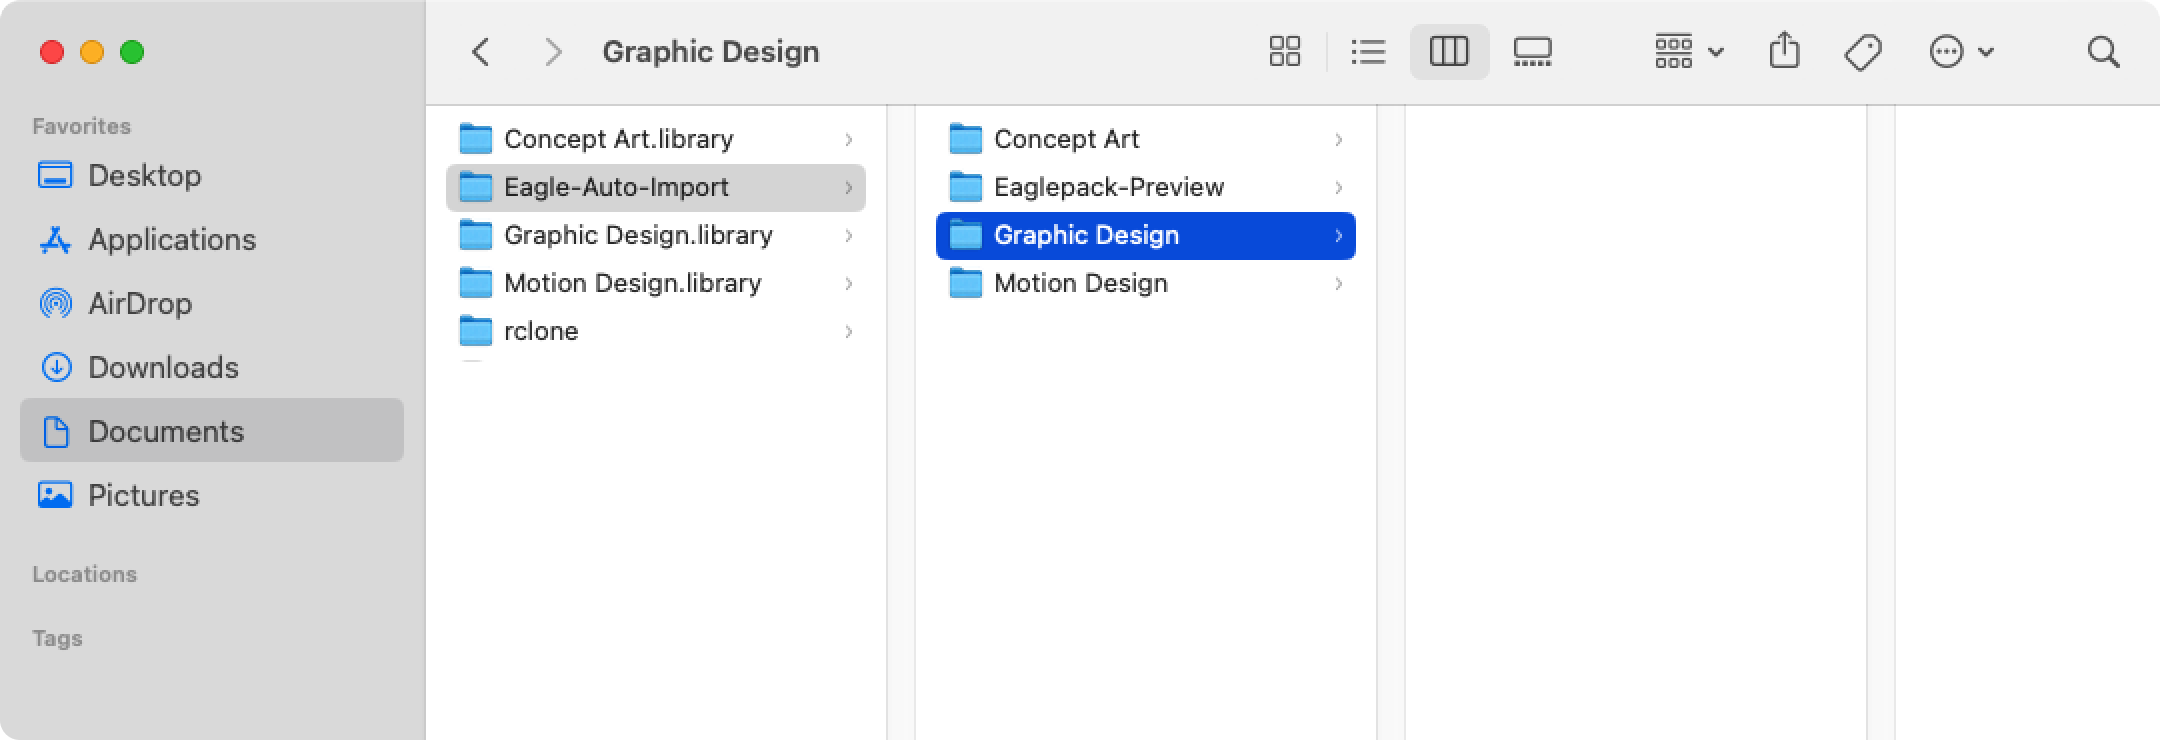
For example, when using Photoshop, screenshot tools, or other applications, just save the files into the monitored folder for auto import, and Eagle will automatically create subfolders based on the library name to easily import into the corresponding library.
Setup Instructions
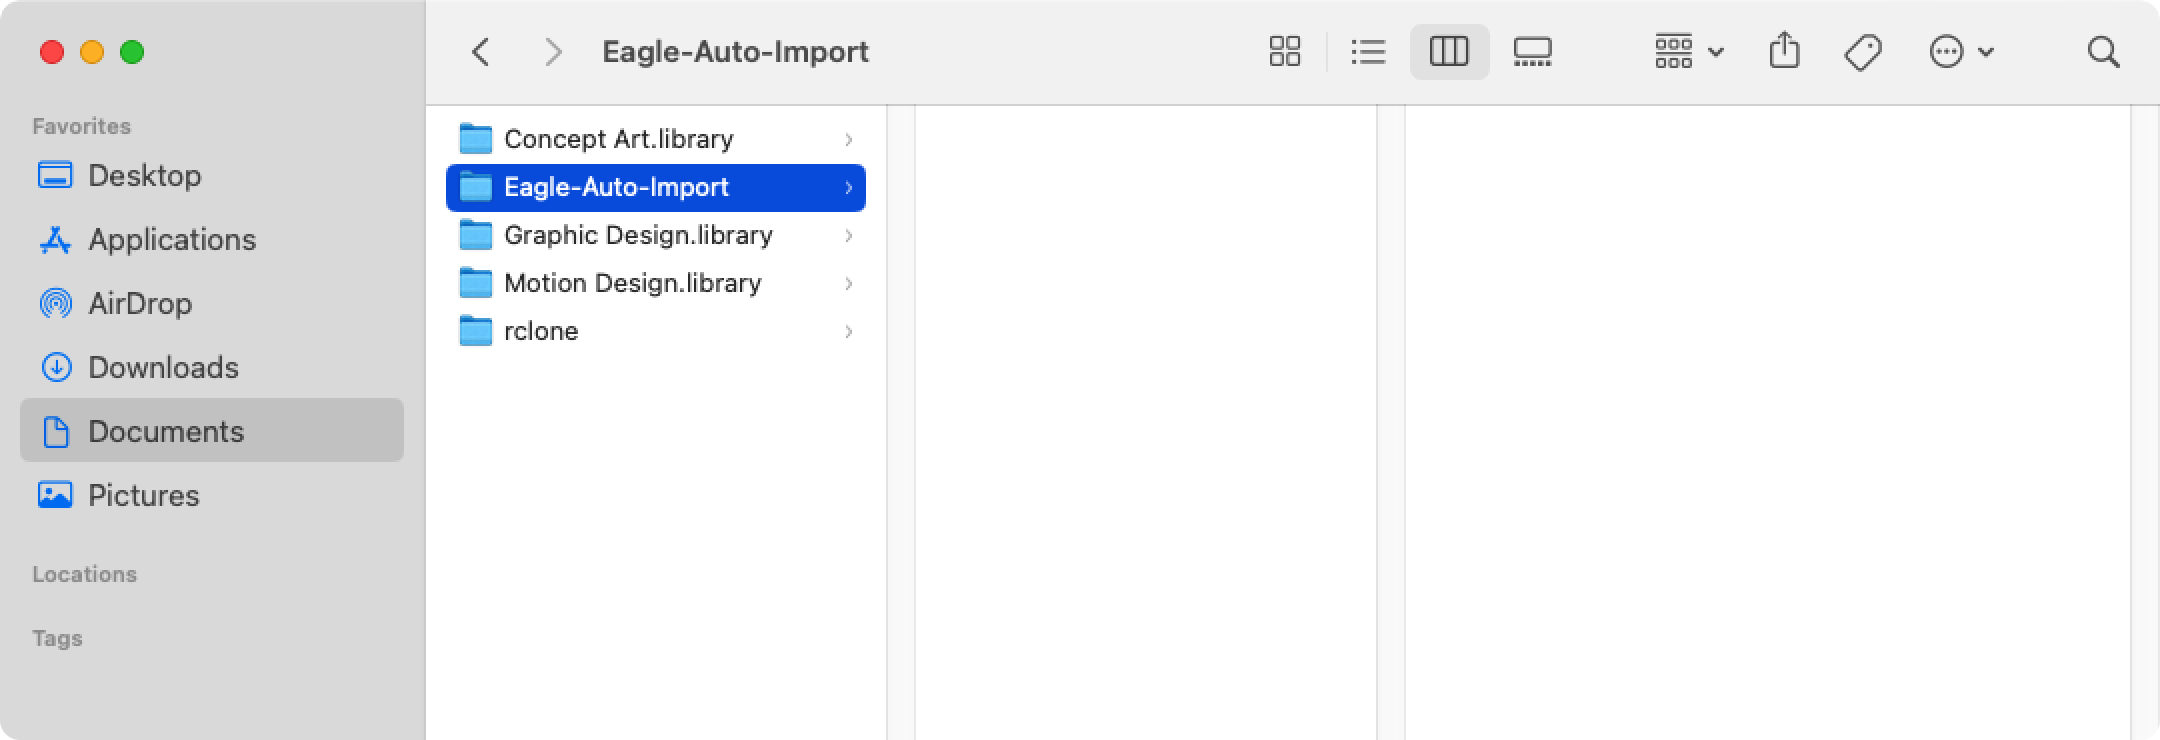
- Create a monitored folder on your computer, e.g., Auto Import to Eagle (currently supports only local paths, not network or NAS storage devices).
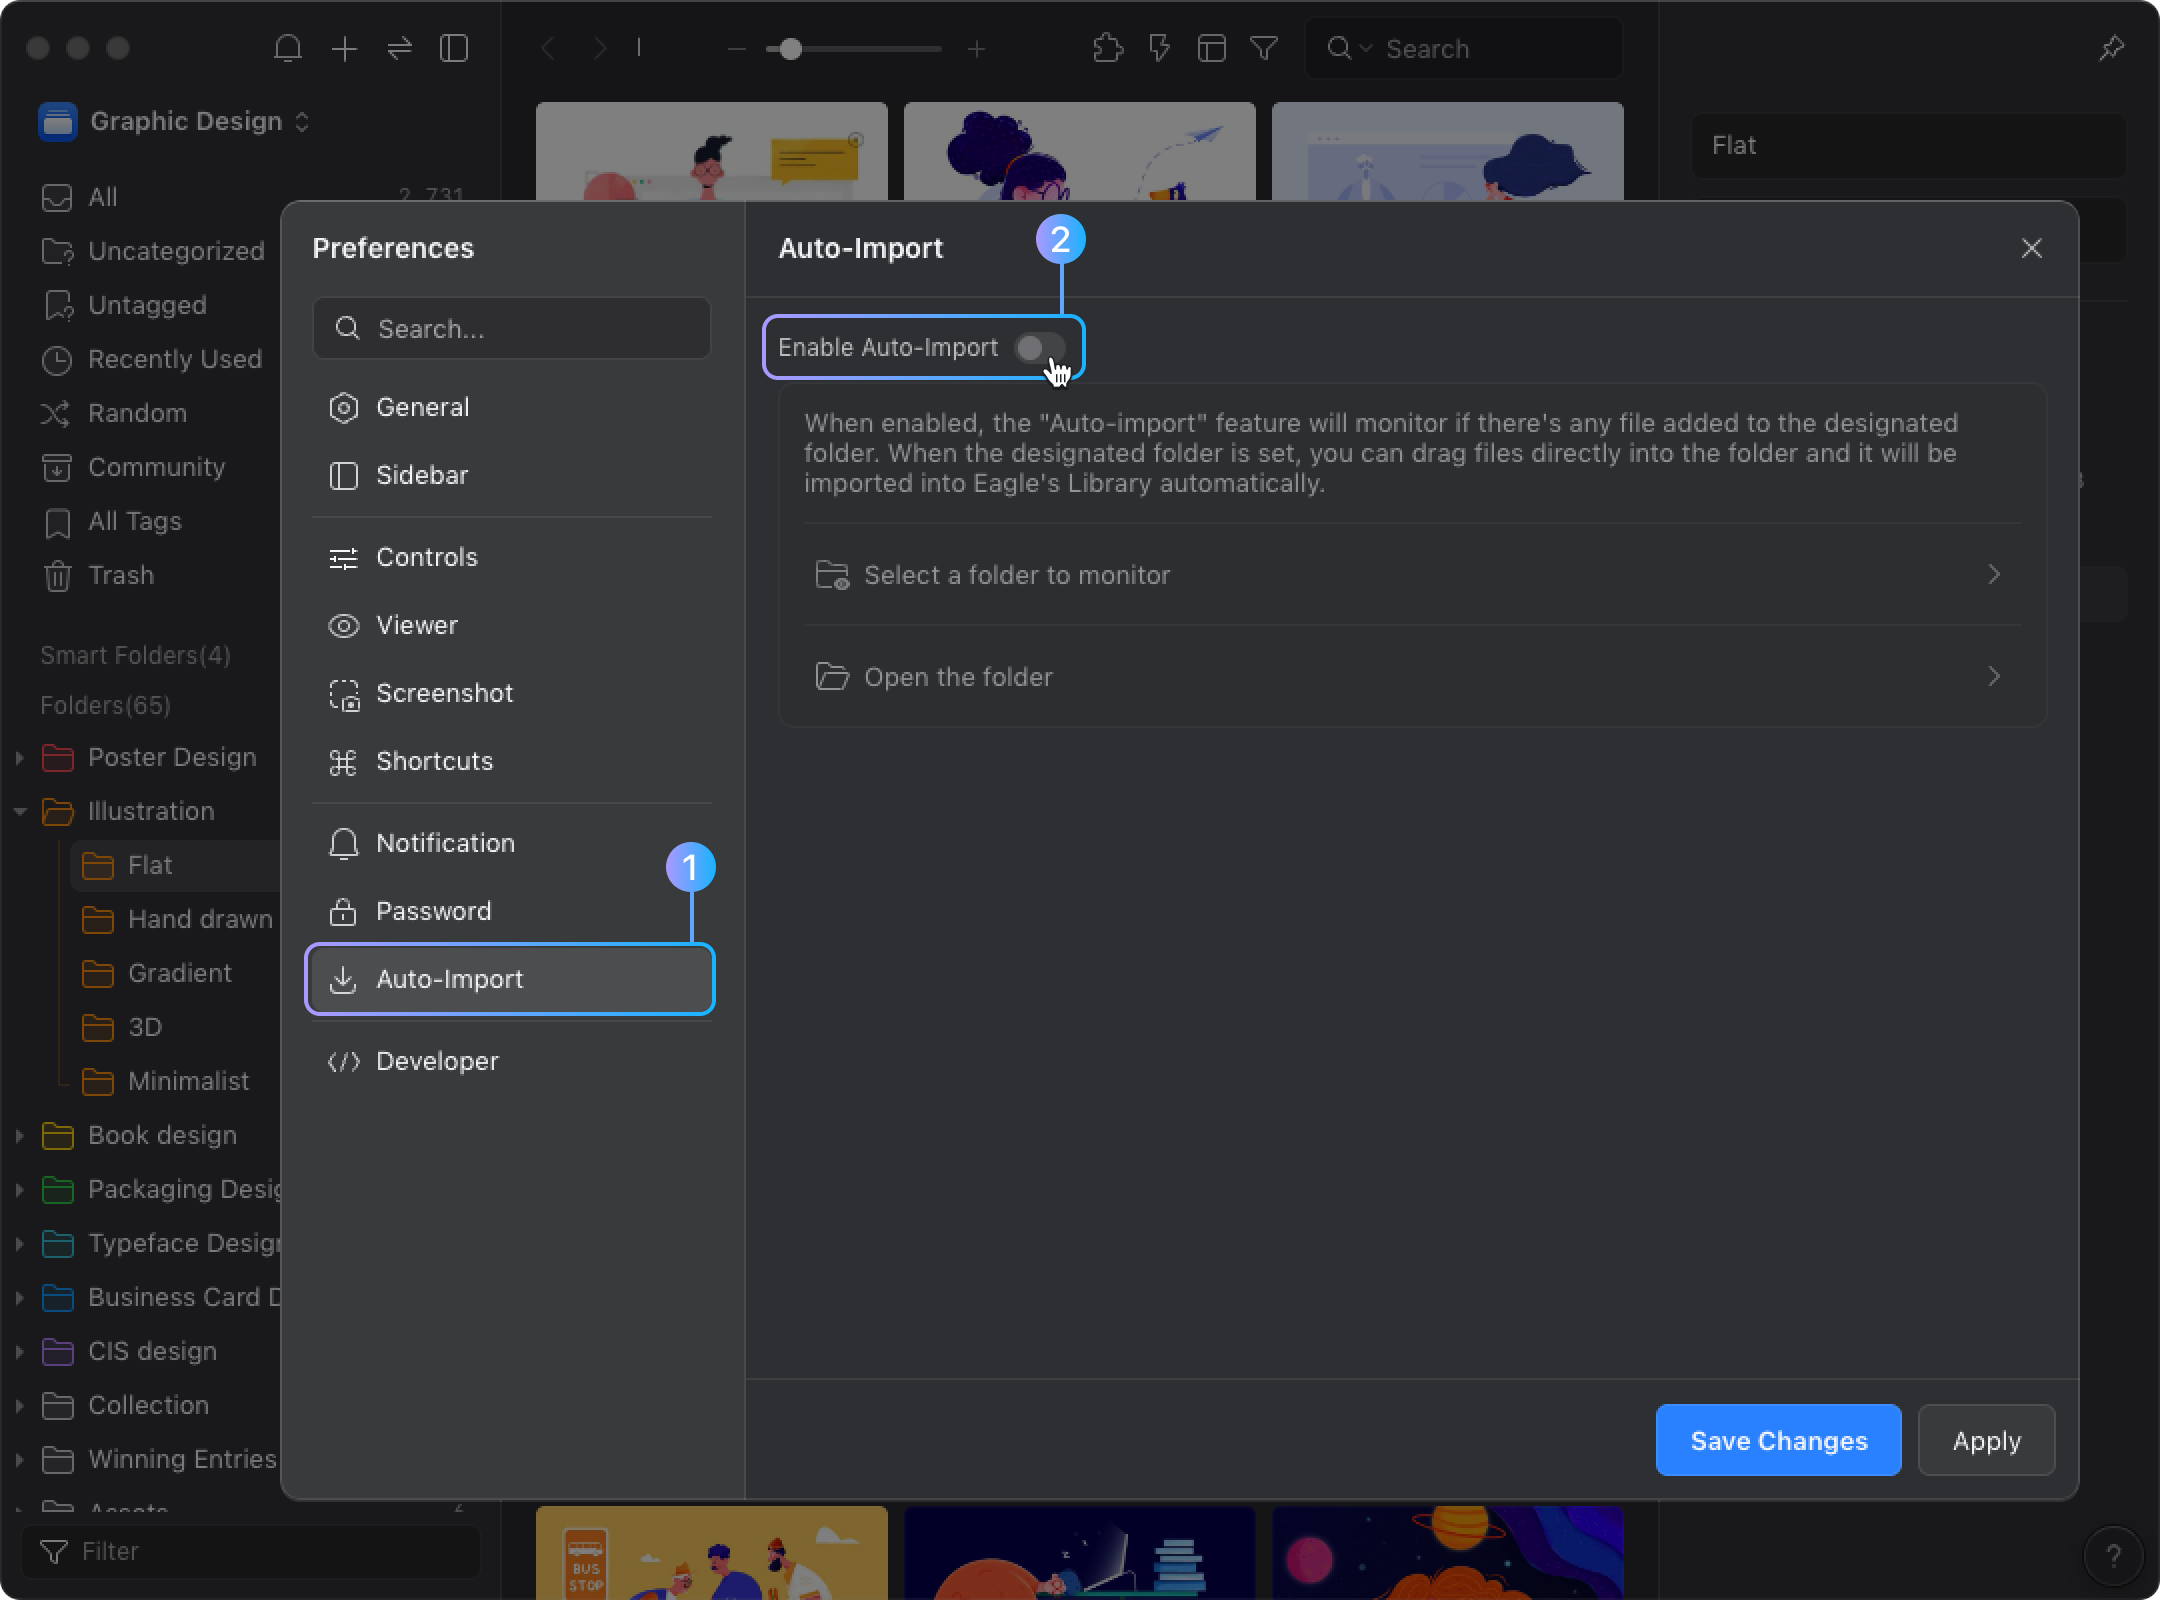
- Open Eagle Preferences, find the "Auto-Import" option in the left-hand menu, and enable "Enable Auto-Import".
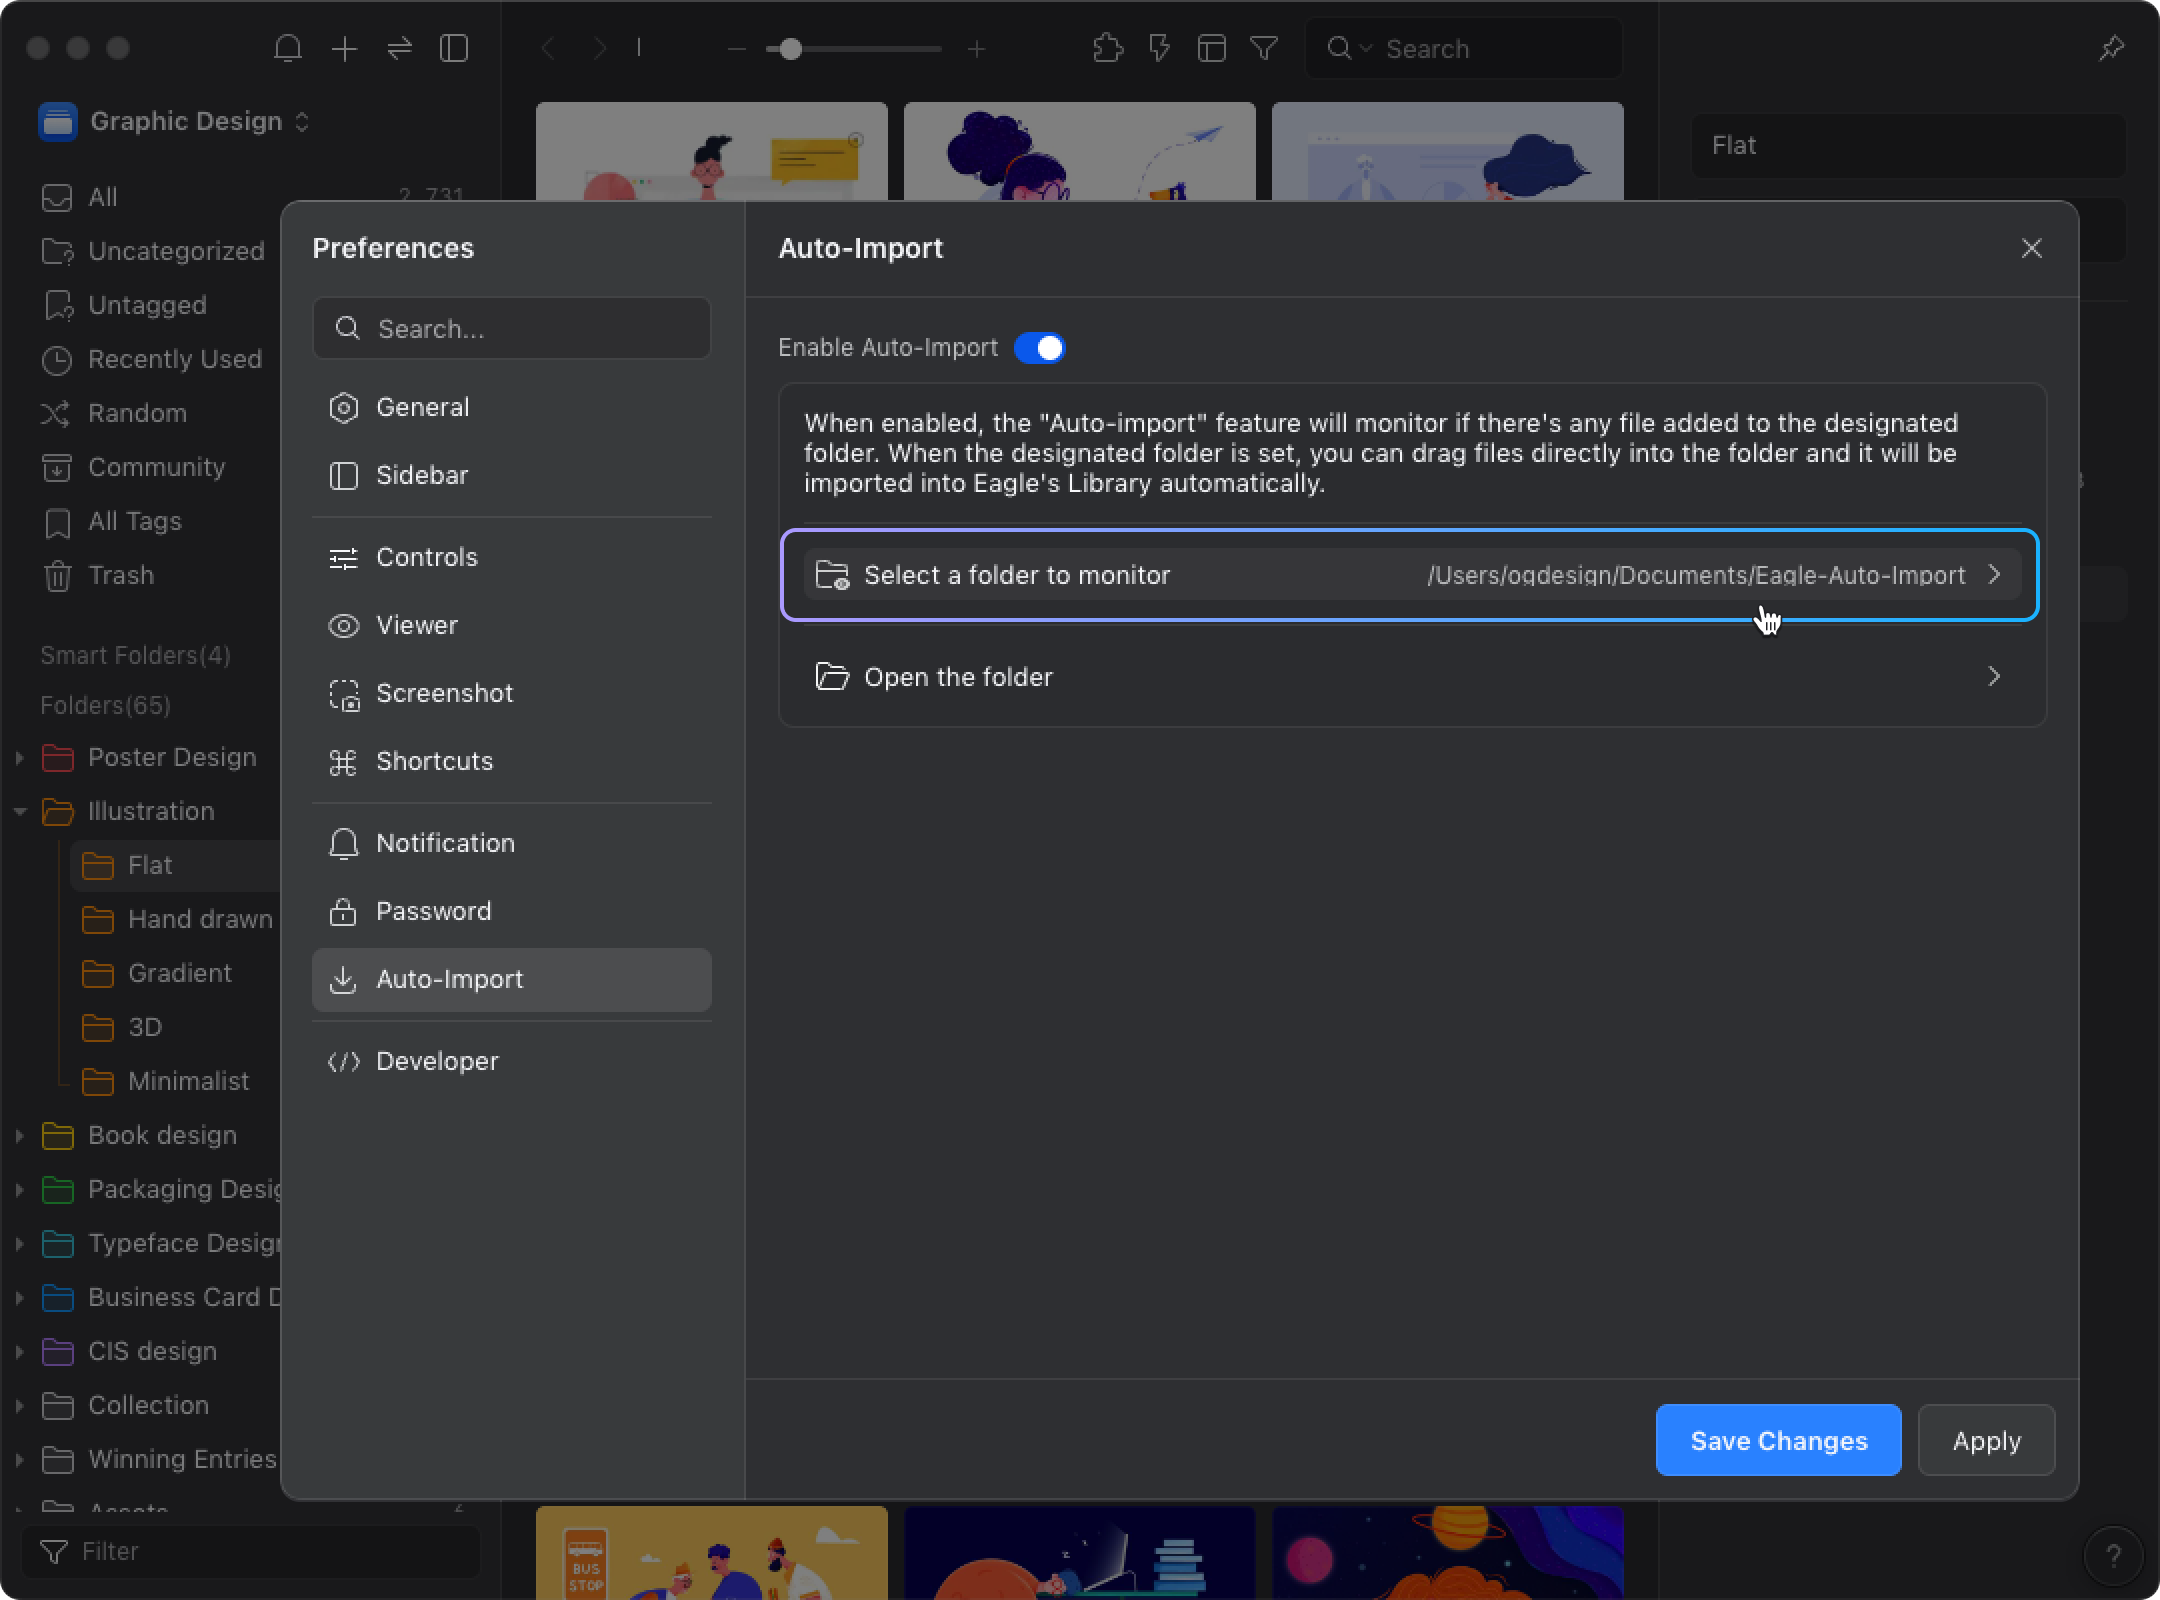
- Select the newly created monitored folder.
- After setting up, you can check the monitored folder on your computer; Eagle has created "subfolders" corresponding to the library names for you.
- You can add the monitored folder to the "Favorites" list in your file manager for quick future access.